
Thumbnails with title on Drupal
Requirements; Views 3 & some CSS basics
This tutorial was tested only on Drupal 7 with Views 3
What we are looking for
In this tutorial we are going to create a list of thumbnails with the title of their respective content. There are three ways to customize views. Theming the output, rewriting the result of a field, or adding CSS classes. We have practiced already how to theme the output and rewrite the result of a field in this tutorial, but this time we will set CSS classes to customize the view and make it look the way that we want to. This is especially useful when the content does not have to have an specific structure. In order to make this thumbnail list work, we have to add the following code:
.thumbnails .left{
position:relative;
display:block;
float:left;
margin-right:5px;
margin-bottom:5px;
border:1px solid black;
}
.thumbnails .left .title{
position:absolute;
bottom:0;
width:100%;
background-color:rgba(00,00,00,0.4);
}
.thumbnails.auto .left .title{
opacity:0;/*optional*/
transition: opacity 2s;/*optional*/
-o-transition: opacity 1s;/*optional*/
-ms-transition: opacity 1s;/*optional*/
-moz-transition: opacity 1s;/*optional*/
-webkit-transition: opacity 1s;/*optional*/
}
.thumbnails.auto .left:hover .title{
opacity:1;/*optional*/
}
This is just going to make every thumbnail float to the left and place every title to the bottom of their respective thumbnails. The “thumbnails” class is described as the container of the thumbnails. The “left” class is going to be assigned to each thumbnail (Each thumbnail will float to the left. That why the CSS class is being called like that) and the “title” class will be assigned to the titles (obvious). Additionally, there is an extra rule (specified as “auto”) that make the title appear and disappear while hovering the thumbnail. Of course, you are not forced to use it. The CSS code should be loaded in your theme, keep in mind that those CSS classes are the classes that we are going to assign to the view. So if you change the code, make sure that the CSS classes are matching the assigned CSS classes. The following steps are going to describe the process to make this thumbnail list:
Creating the View
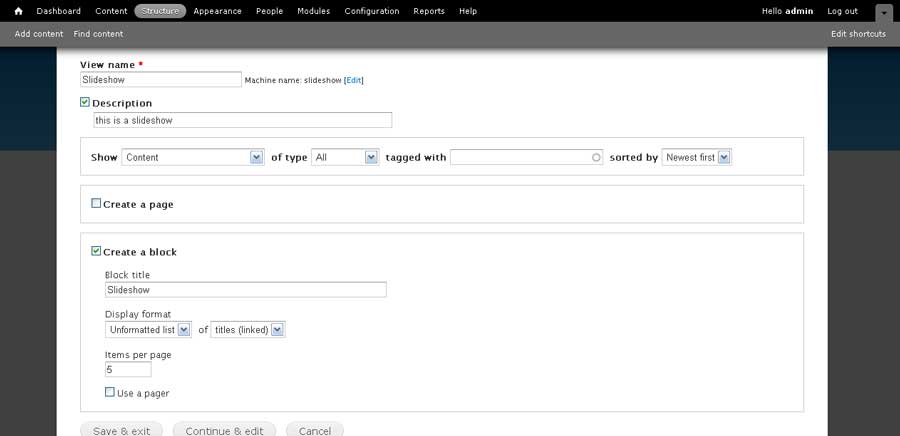
- Create a new view as a block with an unformatted list format.
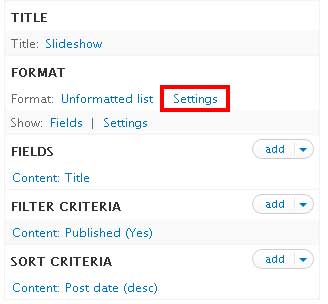
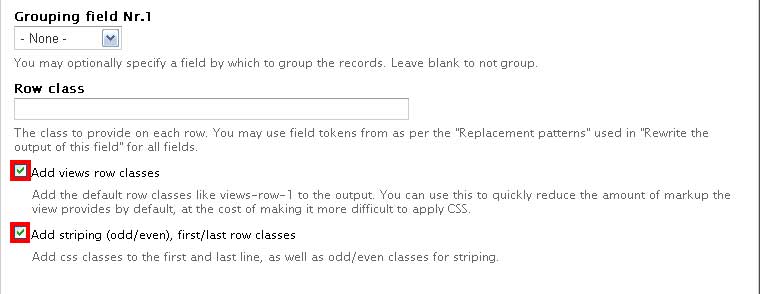
- Uncheck all the options in the format settings (this is optional).
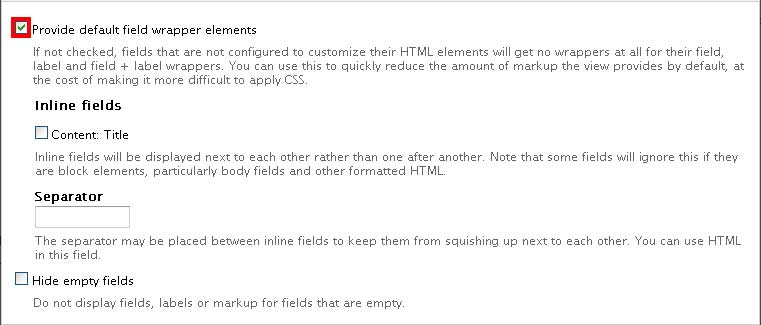
- Make sure the view is showing fields and uncheck the options in the fields settings (this is optional too).
Adding the Fields
- Apply the proper filters.
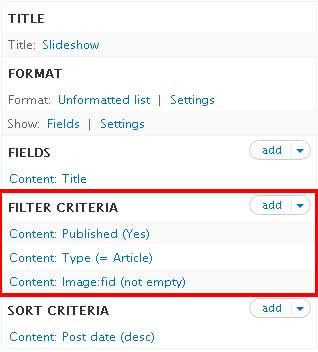
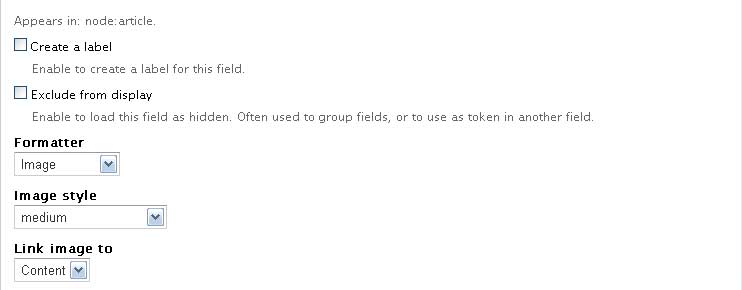
- Add the image field related with the filters (if applied). Define the settings without label. Arrange the fields and place it first. Finally, set the style of the images as “thumbnails”. You can define the images with the style that you like, but I personally encourage to define the images with a square form and a width and height not greater than 350px (I preferred to define the images with an medium style).
Adding CSS code
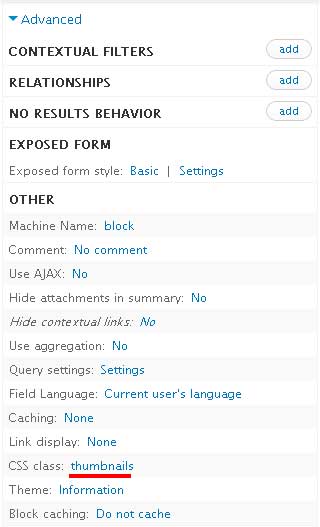
- We have to add CSS classes to the container, the fields and the rows in order to make the thumbnail list work. Remember that every single CSS class that we are going to assign must match the CSS classes in the code. First we will assign the CSS class to the container by adding “thumbnails” to the “CSS class” option in the advanced section. According to the code above, the CSS class “thumbnails” is surrounding everything else, so this is the CSS class that the container should have. You can also add the CSS class “auto” with “thumbnails” (separated with space) to specify that each title of the thumbnail list should appear only when the user is hovering the image.
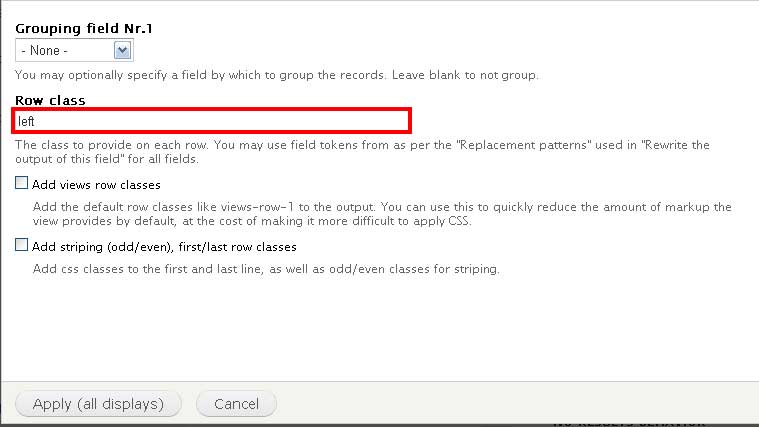
- Now, we are going to add a CSS class to the rows. Each row is containing an image and a title. We need that each image floats to the left, so we are going to add the CSS class “left”.
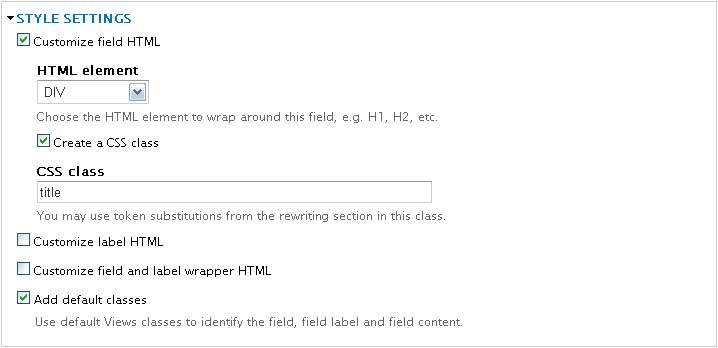
- In conclusion, we are going to add a CSS class to the title field. The proper CSS class for this field is “title”.
Here are the final results:
